Sunday, September 26, 2010

Next Thing

So here I am; I've just finished the tire carrier and it's time to take my bi-weekly trip around the neighborhood In the Jeep. I like to do this to; charge the batteries, knock the dust off and boost my moral. I noticed after going around the first corner that the brakes feel... a little spongy. So I turn my Jeep around to go back to the garage for a quick adjust and bleed.

While dialing the brakes in, I flashed-back to last year where I had replaced the: rear drums with 11" brakes, put all new hardware in the front brakes(for now) and replaced all the brake lines and realizing the only real weak link is the master cylinder (it's a single chamber).

After the adjustments I took the Jeep back out, slammed on the brakes a few times and they lock up every time (my neighbors love me). So feeling confident that I'm going to be able to stop if a kid jumps out in front of me, I continued on my weekly trip.

When I was finished and was pulling into the garage I started to list the "PROs and CONs" of changing/upgrading the master cylinder.

Here's what I came up with:

Keep or upgrade the frame mounted Master Cylinder


PROs
No body cutting/fabricating and is the easiest... I think.

CONs
I'll always doubt em' unless I go with Herm's Solution, but I'd still have to hear the sound of the pedals scraping the side of the floor board hole when I hit the brakes

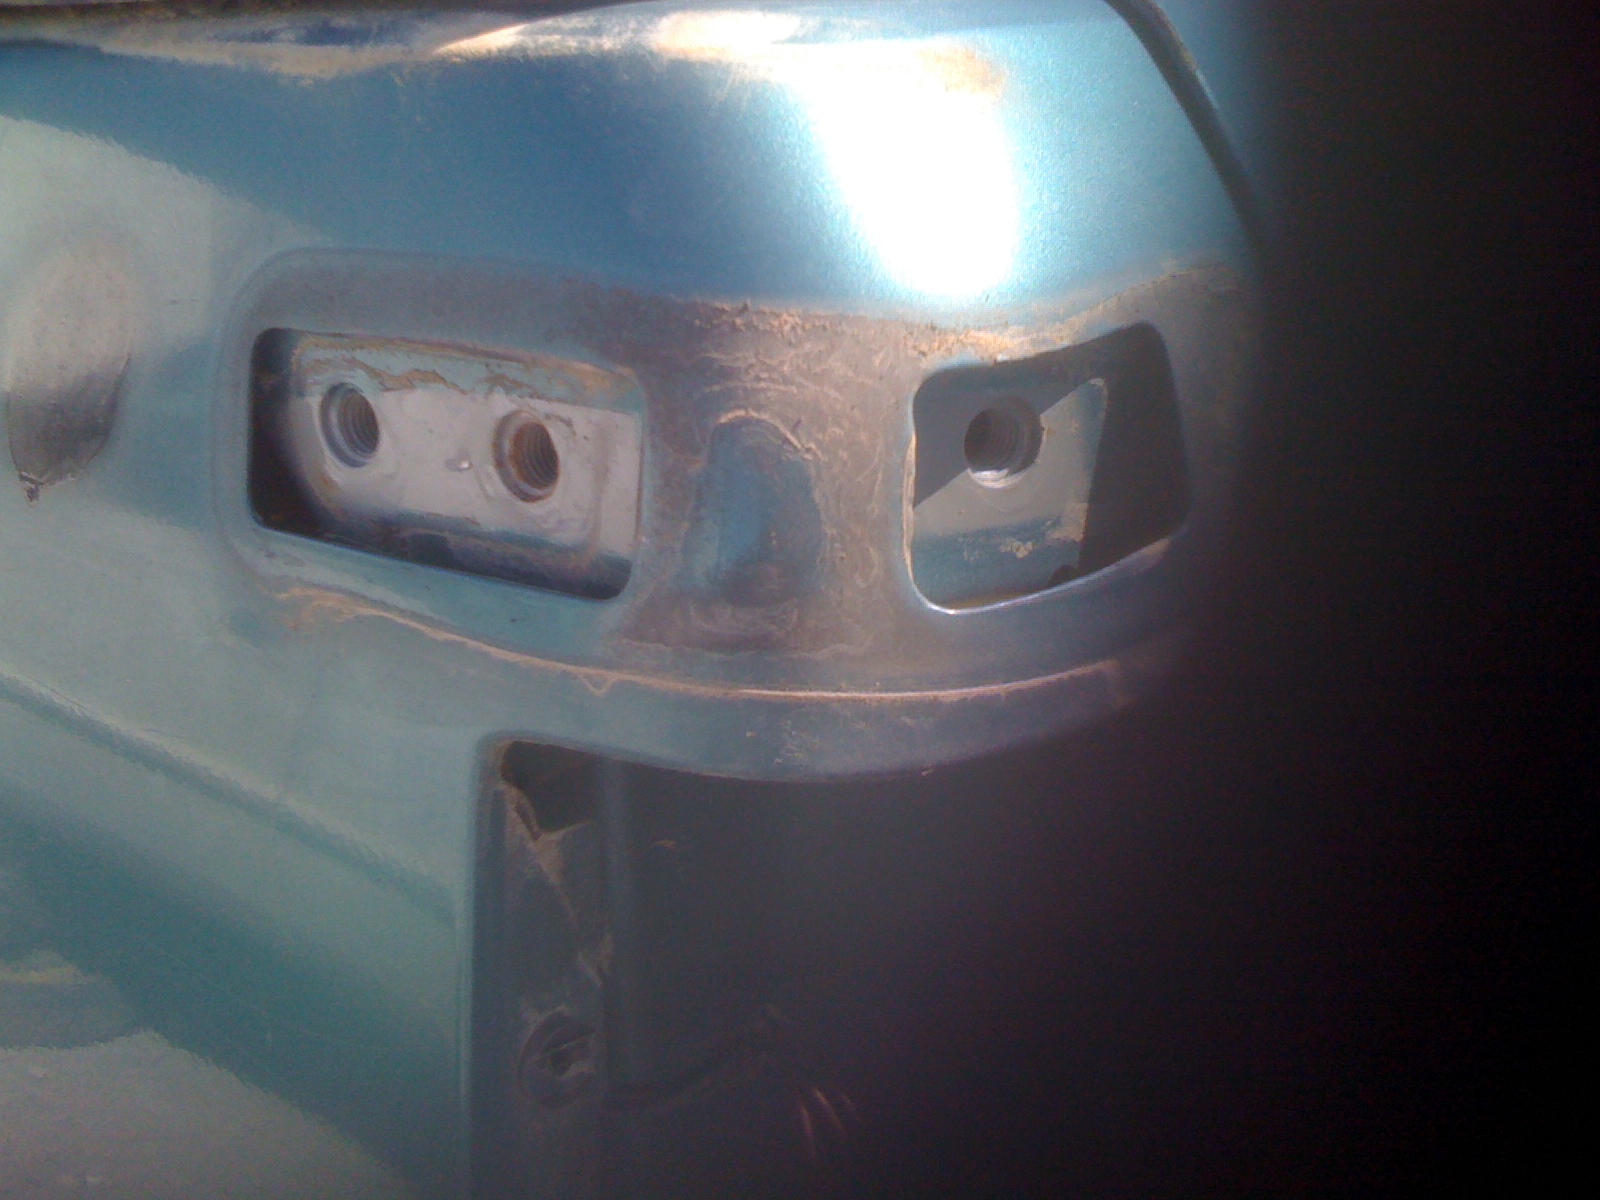
Upgrade to Firewall mounted Manual or power brake Master Cylinder


PROs
Peace of mind when I take this thing down Lions Back.

CONs
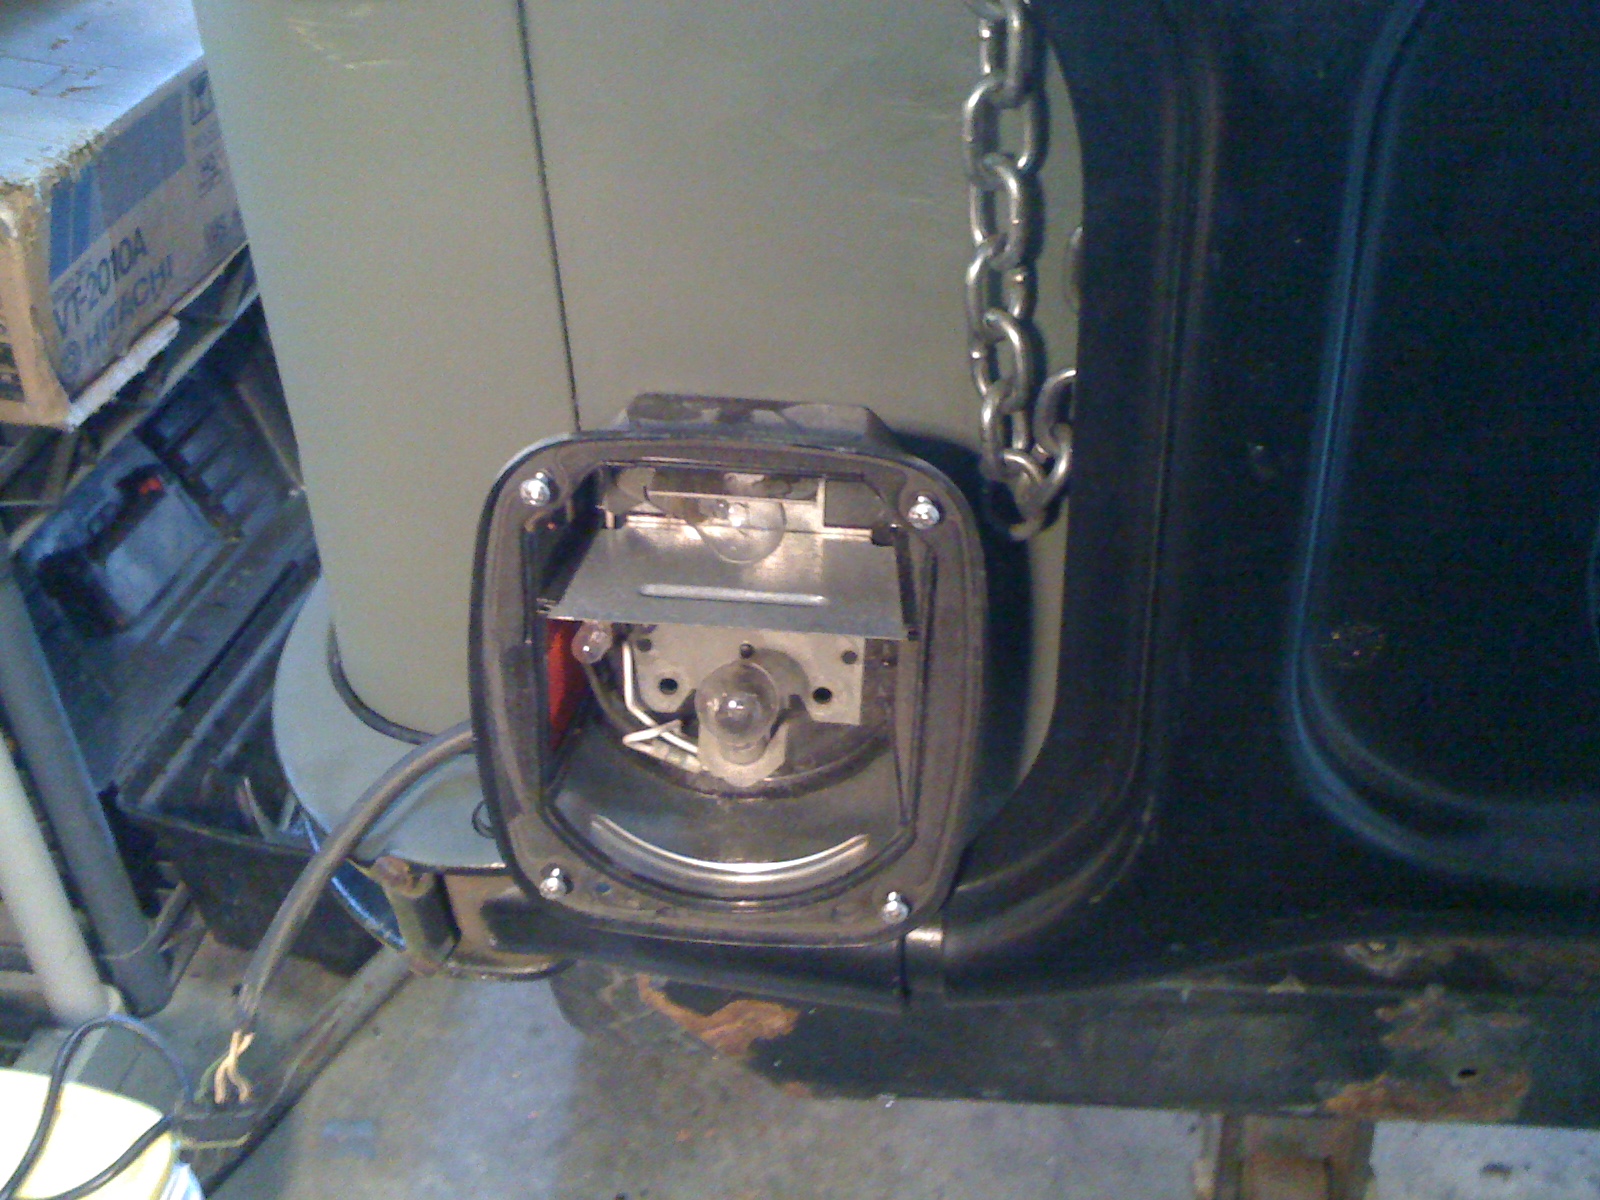
There goes my stock heater/ stock location.

So at this point I'm thinking... "what are the parts going to cost me?" If I go with Herm's solution it's 150 bucks(new) and lose my body lift to make it work.


I looked to see if anyone else sold a Early CJ5 hanging pedal conversion kit... nope.

So I started researching on to the forums... yep tons of people have done it, but everyone has a different solution. Some use brakes off later CJs, some use YJ parts and others scavenge from TJs.

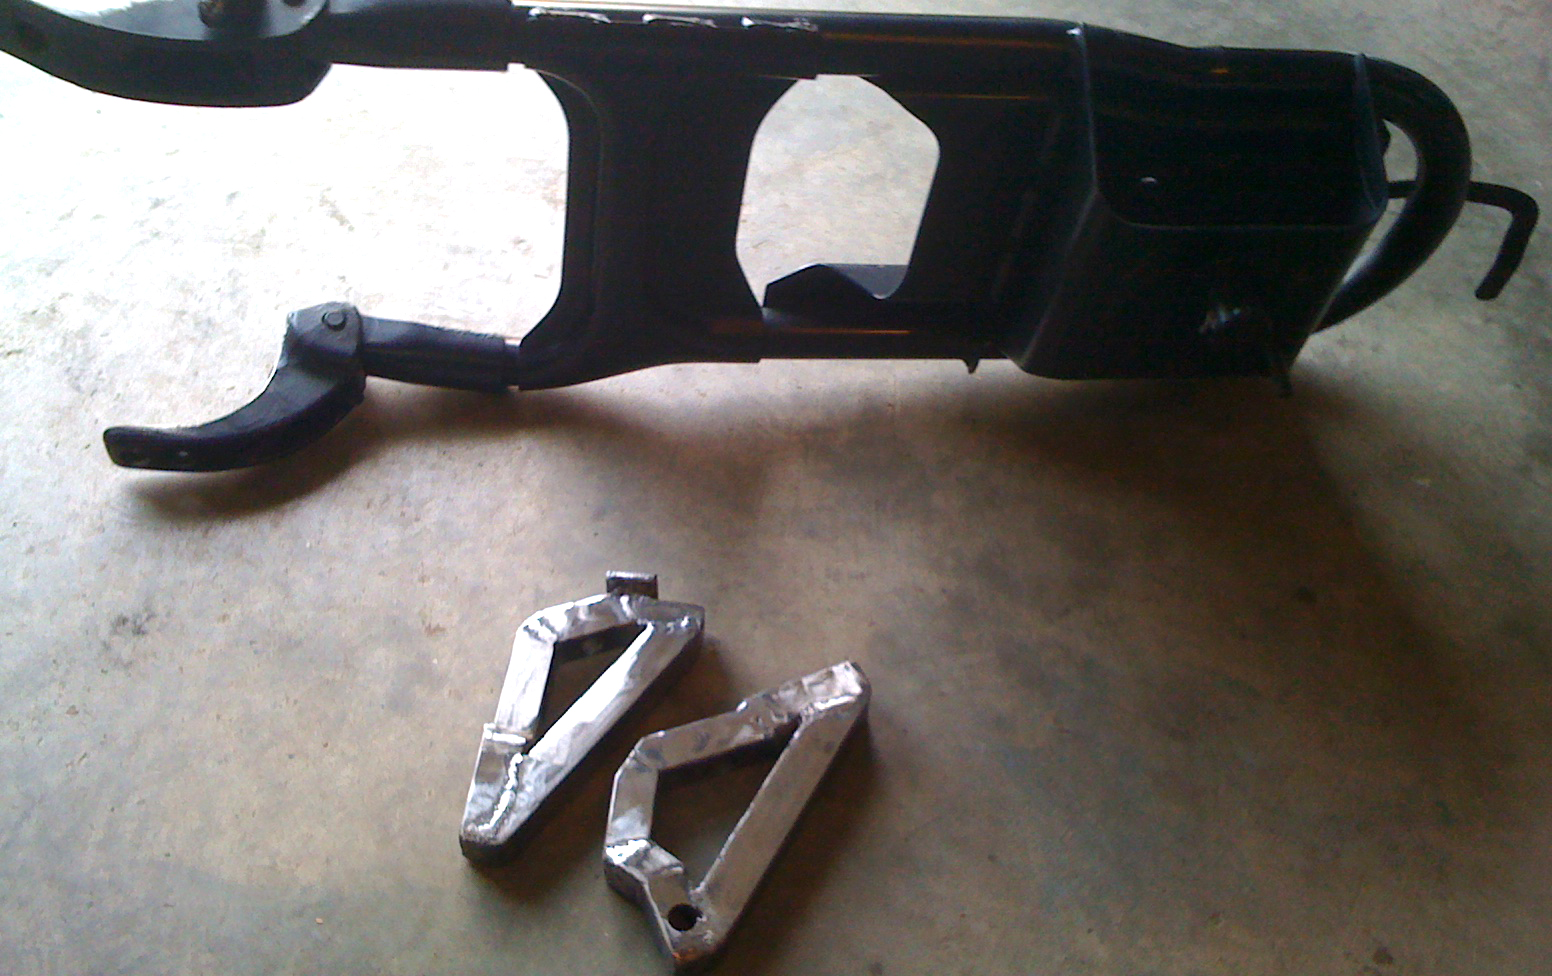
Really for me the decider will be what I'll find the parts on ebay, or at a junkyard for. Curiously I pop my phone out and launch the ebay application, I put in "jeep pedals" and get about 240 search results. To my surprise I find a 03' TJ brake/ clutch pedal set that has two days left, it has no bids and the starting price is .01(+15 bucks shipping). I hit the "bid now" button and hope for the best. A couple of days later I am notified that I have won and so here we are on to the next misadventure in Jeep fabrication. Awesome!

Saturday, September 11, 2010

So much for posting a week later...

Well I guess the blog got put on the side burner for a bit. Hmmm... So where did I leave off, that's right I had finished the tire carrier structure and was running into some new issues.


First issue, poor tail light placement.

Awhile back I bought some newer style tail lights so I would have a backup light and just installed them where the old stock lights went. So I primed and installed the tire carrier then I put the lights in and... yep they would hit when opened. So I opted to go with LED type tail lights, I really couldn't get into an Early CJ with square tail lights.


Second issue, poor placement of the Gas Filler.

When I installed my rear gas tank, I just placed the filler out the back over the tail lights... Now this would have still worked, but it looked funky. So I visited Ebay, purchased a new filler (my old one was chrome plated plastic)and moved the filler over to the passenger side of the Jeep. After all that I took it all apart cleaned up the body work and primed it. It was a ton of work but I'm happy with the end product.

Sunday, August 01, 2010

Rodeo Tire Carrier on a 67 CJ5

(part 1)

I'm really not into giving "step by step" instructions on how to do this, I'm more of a "here's how I got here and if you have a better way, please share" type of person.

So I started with a 97 Isuzu Rodeo Tire carrier, 8' of 1 1/4" square tubing and some 10 mm nuts(which I ditched later) and my trusty wire welder.


I took a picture(right) while I was at the junkyard for reference... Basically the body was thinner than my Jeep's sheet metal and under-structure was where the beef was, which in comparison the 1 1/4" square tubing was overkill. For a total of 5 seconds I was thinking of cutting out the Rodeo's under support, but then I remembered the Junkyard's no power tool policy, plus where would the fun be in that. Getting the tire carrier was by far the easiest part of this job.

So now I'm back in the garage and I start this job by prepping the body; I ground off the paint where I'll be welding, deciding the general location of where the carrier was going and cut holes in the body where the hinges go. On the hinge-to-body area of the carrier I started grinding the hinges flat(Rodeo's body is round/convex the Jeep is flat) to fit the hinge tight against the body. I then started making the under-body support; fitting the two pieces that fit directly against the hinges first, then dry fitting the carrier on the body, I cut and tacked the rest of the support together. Here's where I made my first mistake in not including the gasket in the fitting, but I just ended making a spacer for the under-body support to fix it.

After taking the carrier off the body I finished the welds, cleaned up the under-body supports and checked the fit(left) against the hinges. I put the carrier back on the body and tacked the under-body support in place.


I had to raise the corner of the body 1 1/4"(right) so the under-body support could fit.


I was able to get the top hinge close to the body, but the bottom still needs work. The tailgate latch and chain need a little tweaking; I cut a 1 1/2 section out of the body's and the tailgates attachment and made new holes to attach the chain.


Sometime this week I'll post the rest which is just: mounting the latch on the tale gate, adjust, tweak, adjust, install new tail lights, and prime any bare metal.

Enjoy it, I sure have.


Sunday, July 18, 2010

Keeping it cheap is hard work

I wanted to start this blog off with telling you the How and the Why I'm building this Jeep, but it's Sunday night, I'm a slow writer and I want to go to bed soon so I'm just going to tell you the What I'm working on now.

So about a month ago I was browsing through the local Pull-A-Part. I'm taking a shortcut through the imports and that's when I see a ninety something Isuzu Rodeo with a tireless tire carrier and I get a mental picture of various Jeep catalogs with the prices of after market tire carriers floating in my head. So I pulled my tape out and started measuring and then found out the carrier would fit, but not perfectly. First the tire would be around an inch shy from being centered when on the carrier... I can live with that. Second the Rodeo's body has a convex shape and the Jeep is flat so I would have to modify the mounting points... I can weld and grind. Third when finished, I figure the body would have around 300 lbs attached to it so I would have to reinforce the heck out of it... Yey more welding and grinding! The big advantage, well a tire carrier for about 25 bucks and one that would keep my frame/ bumper free for other things. Lucky for me I included some Torx wrenches in my tool box.

So right now I'm a little over three quarters the way done. I plan to includes pics and some instructions in the next blog; but I wouldn't follow too closely, because I have a tendency to eyeball too much and grind to correct.

Saturday, July 10, 2010

Deserted, but not dead

It's been a really long time since I have posted anything...

Why?

Good old fashioned uninspired laziness.

When I started blogging it was an exercise in strengthening my weak grasp of the English language. Now that I feel that I have increased my ability(slightly) to write about trivial daily observations, where do I go from here.

Due to the security and political nature of my job I really can't write that much about work. Any research and development I do at home is out of necessity, because lets face it if you do it as a job, it will always feel like work. So writing about my home network would be low on the inspired meter. Since my Bass playing is in its beginner stage the natural choice of my main blogging subject matter just leaves Jeeps.

So out of embers of my old mash-ups, technology and general observations blog comes my newly inspired Micheal's 
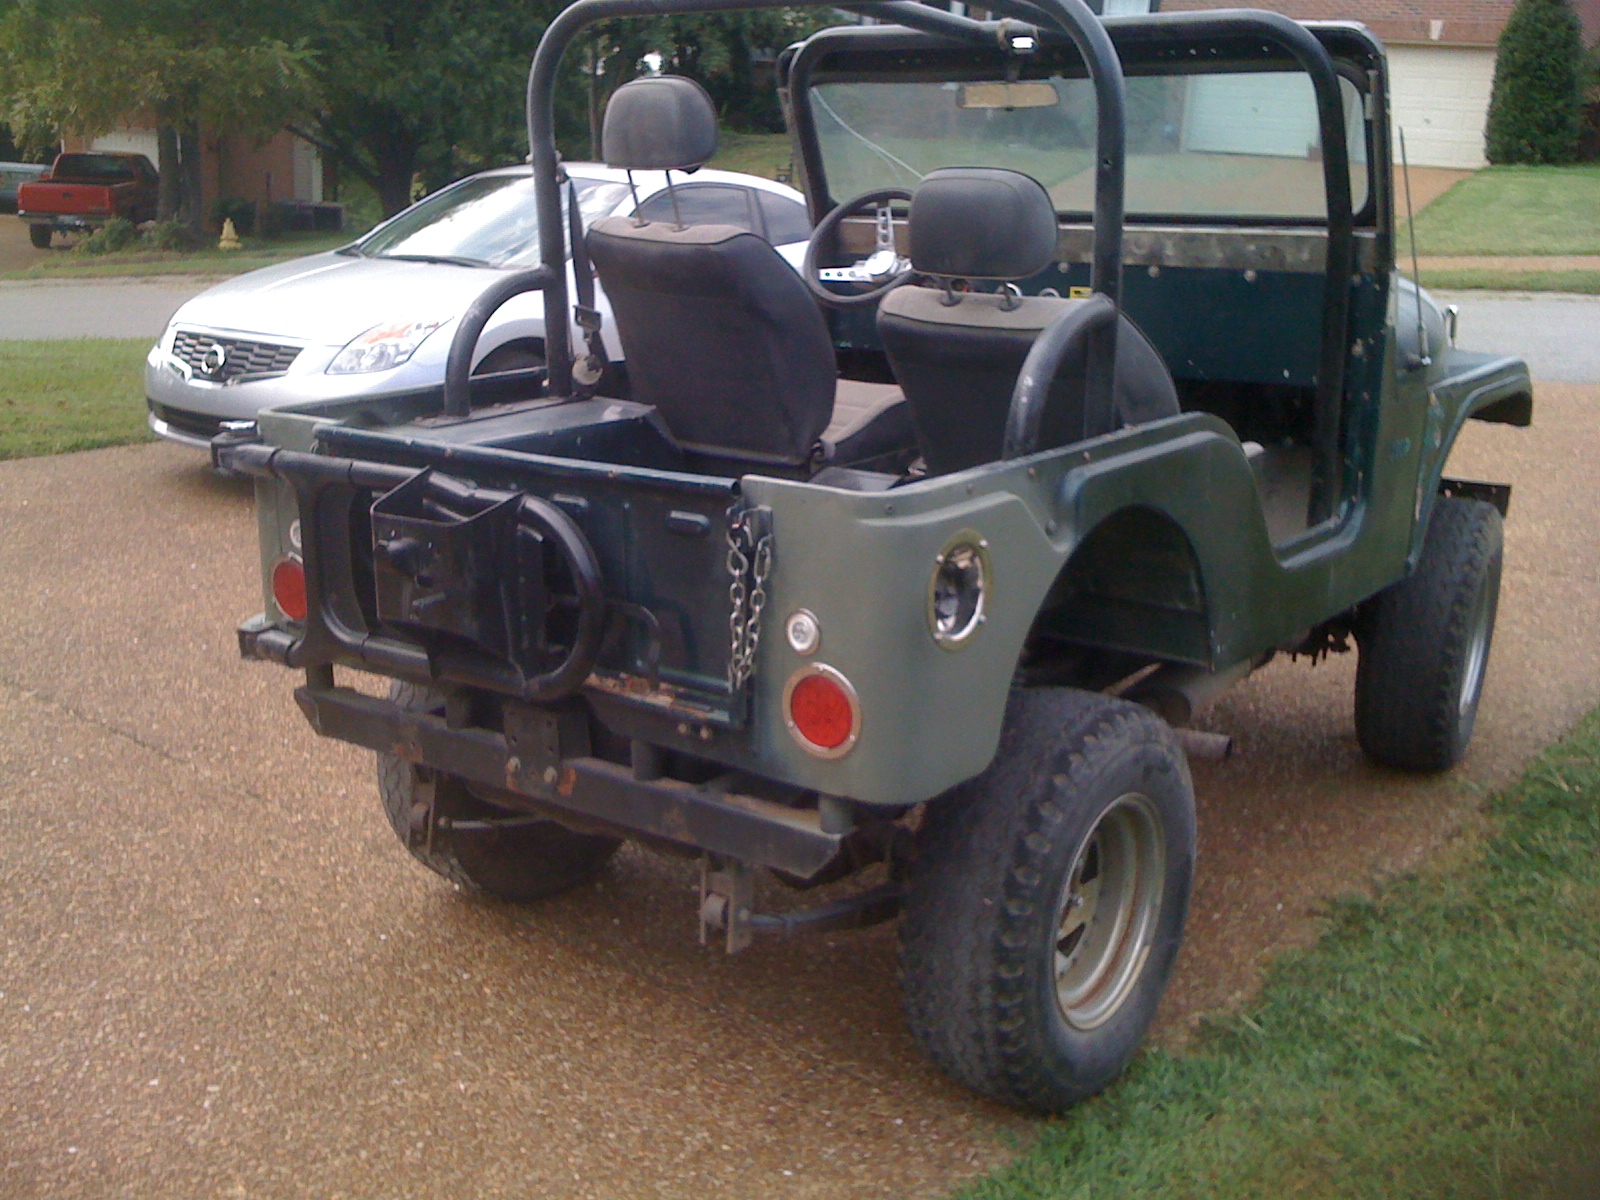
blog, where I will share in my battles of preparing my 67' CJ5 to hit the trails again and do it on a very limited budget.

I wouldn't have it any other way ;)